Product media upload
Uploading product media using AWS S3 pre-signed POST:
AWS Pre-signed POST data enables direct uploads to S3 storage in a controlled and safe way.
The client requests a pre-signed POST policy containing the URL and data fields required to prepare multipart/form-data POST request to upload a file directly to S3. S3 responds with a success confirmation or error message if the upload fails.
The policy expires after 20 minutes by default and its expiration is adjustable by configuration.
How does it work with GraphQL Integration API:
Product media upload flow consists of 3 steps.
- Obtain the policy from Integration API mutation,
- Upload file to S3 using that policy,
- Assign uploaded file to a proper object - either Product or ProductVariant.
Centra removes uploaded files that are not assigned to a Product or ProductVariant within 2 days.
Required permission is ProductMedia:write
Product media upload flow:
- Use
createMediaUploadmutation to obtain pre-signed POST policy along with unique identifier of the file. - Use policy data to construct an upload request with your file to S3 (see code examples).
- After successful upload use
completeMediaUploadmutation with the unique identifier to assign uploaded media to proper Product or ProductVariant. If your file wasn't uploaded successfully and cannot be found by given identifier, the mutation will fail.
Notes
- Set the
Content-Typefield to the file's MIME type before the file input in the form data. - Supported file formats are png, jpg and gif.
- Successful response from S3 file upload request is indicated by 204 status code.
Code examples:
- JavaScript upload function using XHR request:
const uploadFile = (uploadPolicy, file) => {
  return new Promise((resolve, reject) => {
    const formData = new FormData();
    Object.keys(uploadPolicy.fields).forEach(field => {
      formData.append(field.name, field.value);
    });
    const actionAttribute = uploadPolicy.attributes.find(
      attribute => attribute.name === 'action'
    );
    const url = actionAttribute.value;
    formData.append('Content-Type', file.type);
    formData.append('file', file);
    const xhr = new XMLHttpRequest();
    xhr.open('POST', url, true);
    xhr.send(formData);
    xhr.onload = function () {
      this.status === 204 ? resolve() : reject(this.responseText);
    };
  });
};
- HTML template with dynamically created media upload form:
<!DOCTYPE html>
<html>
  <head>
    <title>Test AWS s3 pre-signed post form media upload</title>
    <style type="text/css">
      body {
        margin: 50px auto;
        text-align: center;
        width: 33%;
      }
      div {
        margin-top: 15px;
      }
      tt {
        padding: 2px 4px;
        background-color: #eee;
        border: 1px solid #aaa;
        border-radius: 5px;
      }
      #gql-form {
        width: 100%;
        text-align: left;
      }
      #gql-input {
        width: 100%;
        height: 300px;
      }
      #uuid-container {
        width: 250px;
        line-height: 2.5em;
        text-align: center;
        background-color: #eee;
        border: 1px solid #aaa;
        border-radius: 5px;
      }
    </style>
  </head>

  <body>
    <form id="gql-form">
      <h3>Usage</h3>
      <ol>
        <li>
          Call `createMediaUpload` mutation, eg:
          <pre>
mutation {
  createMediaUpload(
    input: {
      mediaType: IMAGE
    }
  ) {
    UUID
    uploadPolicy {
      attributes { name value }
      fields { name value }
    }
    userErrors { message path }
  }
}
            </pre
          >
        </li>
        <li>Copy response and paste in the input below</li>
        <li>Use <tt>Generate Form</tt> button to create an upload form</li>
        <li>
          Once the form is generated, select file using
          <tt>Choose File</tt> button and then click <tt>upload</tt>
        </li>
      </ol>
      <h3>Generate upload form</h3>
      <label for="gql-input">Paste GraphQL response:</label><br />
      <textarea id="gql-input"></textarea><br />
      <button type="submit">Generate Form</button>
    </form>
    <div>
      <b>UUID:</b><input type="text" readonly="readonly" id="uuid-container" />
    </div>
    <div id="test-form-container"></div>

    <script>
      function generateForm(e) {
        e.preventDefault();
        let input = document.getElementById('gql-input');
        let parsed = JSON.parse(input.value);
        if (parsed === false) {
          console.error('Invalid response -- not a valid JSON');
        }
        createForm(parsed);

        return false;
      }

      window.onload = function exampleFunction() {
        document
          .getElementById('gql-form')
          .addEventListener('submit', generateForm);
      };

      function createForm(gqlResponse) {
        let formContainer = document.getElementById('test-form-container');
        formContainer.innerHTML = '';
        document.getElementById('uuid-container').value =
          gqlResponse.data.createMediaUpload.UUID;
        let policy = gqlResponse.data.createMediaUpload.uploadPolicy;
        let formAttributes = policy.attributes;
        let formInputs = policy.fields;

        var form = document.createElement('form');
        formAttributes.forEach(function (attr) {
          form.setAttribute(attr.name, attr.value);
        });

        formInputs.forEach(function (input) {
          let inputElem = document.createElement('input');
          inputElem.setAttribute('type', 'hidden');

          inputElem.setAttribute('name', input.name);
          inputElem.setAttribute('value', input.value);

          form.appendChild(inputElem);
        });

        let fileInput = document.createElement('input');
        fileInput.setAttribute('type', 'file');
        fileInput.setAttribute('name', 'file');
        form.appendChild(fileInput);

        let submit = document.createElement('input');
        submit.setAttribute('type', 'submit');
        submit.setAttribute('value', 'upload');
        form.appendChild(submit);

        fileInput.addEventListener('input', function (e) {
          let inputElem = document.createElement('input');
          inputElem.setAttribute('type', 'hidden');
          inputElem.setAttribute('name', 'Content-Type');
          inputElem.setAttribute('value', fileInput.files[0].type);
          form.insertBefore(inputElem, fileInput);
        });

        formContainer.appendChild(form);
      }
    </script>
  </body>
</html>
Create a new batch upload
To initiate a new batch, call the createMediaBatch mutation:
There is only one requirement: imported images must be accessible via the Internet by a URL.
mutation createMB {
  createMediaBatch(
    input: {
      productMedia: [
        {
          productId: 1
          variantId: 1445
          url: "https://picsum.photos/id/1072/3872/2592"
          metaDataJSON: "{\"my-data\": \"Anything can go here\"}"
        }
        { productId: 1, url: "https://picsum.photos/id/1003/1181/1772" }
      ]
    }
  ) {
    queueId
    userErrors {
      message
      path
    }
  }
}
Note the following requirements:
-
You can connect media directly to a product variant if it only applies to one variant.
-
The maximum number of media to be imported at once is 100.
-
The media sort order within a single upload will follow the order of the URLs provided in the mutation. This order applies only to the batch being uploaded and does not affect or re-sort media that was uploaded previously.
-
You can add your own metadata and later read it back from a ProductMedia object. Metadata should be a JSON object (not a list or a scalar), but the keys can store any type of value.
-
Save the queueId value returned from the mutation if you want to check the progress.
Beside your own values, the product media metadata will have some additional keys added automatically by this process. They are especially useful to determine, whether given ProductMedia is the same image you want, or not.
- originalUrl – the imported url.
- originalSha1 – an SHA-1 checksum of the original file contents.
- originalWidth + originalHeight – dimensions of the originally uploaded image.
Check the batch status
Because processing of your batch upload is asynchronous, you may want to check its progress.
query MBstatus {
  mediaBatch(queueId: "acd5518727f54c5c9a5b2e31d6d742d2") {
    # insert your queueId
    status
    productMedia {
      productId
      variantId
      mediaType
      url
      key
      completed
    }
  }
}
See the BatchStatus enum values for possible statuses.
Fetch the new media from a product query
When your batch is COMPLETED, you should see the new media on a product:
query lastMedia {
  product(id: 1) {
    media(sort: id_DESC, limit: 1) {
      id
      source(sizeName: "standard") {
        mediaSize {
          name
          quality
          maxWidth
          maxHeight
        }
        url
        mimeType
      }
      metaDataJSON
    }
  }
}
Add media to displays and arrange their order
When creating or modifying displays, you can first add addProductMedia.id to your display:
mutation {
  createDisplay(
    input: {
      name: "display-name"
      status: ACTIVE
      store: { id: 1 }
      product: { id: 1 }
      addProductMedia: [{ productMedia: { id: 467 } }]
    }
  ) {
    userErrors {
      message
      path
    }
    display {
      id
      media {
        id
      }
    }
  }
}
Later you can manipulate and re-order these productMedia objects as necessary:
mutation {
  updateDisplay(
    id: 1234
    input: {
      addProductMedia: [{ productMedia: { id: 469 }, before: { id: 466 } }]
      removeProductMedia: [{ id: 467 }]
    }
  ) {
    userErrors {
      message
      path
    }
    display {
      id
      media {
        id
      }
    }
  }
}
Uploading individual images to static (mapped) custom attributes
Another use case when you would like to upload images would be to add them to your static custom attributes, like Showroom Swatches. Let's take a simple attribute for example:
pr_extra_info
{
  "desc": "Product Extra Info",
  "readonly": true,
  "group": "product",
  "elements": {
    "image": {
      "desc": "Product Extra Image",
      "type": "image",
      "size": "0x0"
    }
  }
}
Let's start by fetching the attribute definition, to make sure it's available in GQL:
Get attribute definition information
query attributeTypes {
  attributeTypes(where: { name: { equals: ["pr_extra_info"] } }) {
    name
    description
    isMapped
    isMulti
    objectType
    elements {
      key
      description
      kind
      isMulti
      paramsJSON
    }
  }
}
Response:
{
  "data": {
    "attributeTypes": [
      {
        "name": "pr_extra_info",
        "description": "Product Extra Info",
        "isMapped": true,
        "isMulti": false,
        "objectType": "Product",
        "elements": [
          {
            "key": "image",
            "description": "Product Extra Image",
            "kind": "IMAGE",
            "isMulti": false,
            "paramsJSON": "{\"size\":\"0x0\"}"
          }
        ]
      }
    ]
  },
  "extensions": {
    "complexity": 110,
    "permissionsUsed": ["Attribute:read"],
    "appVersion": "v1.23.0"
  }
}
Now, let's upload the media that we wish to assign to the attribute. For that purpose we will create a media upload policy that will later accept the uploaded file:
mutation mediaUploadTest {
  createMediaUpload(input: { mediaType: IMAGE }) {
    UUID
    uploadPolicy {
      attributes {
        name
        value
      }
      fields {
        name
        value
      }
    }
    userErrors {
      message
      path
    }
    userWarnings {
      message
      path
    }
  }
}
Response:
{
  "data": {
    "createMediaUpload": {
      "UUID": "4573c32c27e05fce541ed2d4b75a5904",
      "uploadPolicy": {
        "attributes": [
          {
            "name": "action",
            "value": "https://centra-webinar-silk-staging.s3.eu-west-1.amazonaws.com"
          },
          {
            "name": "method",
            "value": "POST"
          },
          {
            "name": "enctype",
            "value": "multipart/form-data"
          }
        ],
        "fields": [
          {
            "name": "acl",
            "value": "private"
          },
          {
            "name": "key",
            "value": "media/client/dynamic/temp/4573c32c27e05fce541ed2d4b75a5904"
          },
          {
            "name": "X-Amz-Credential",
            "value": "AKIARA6PLGVYP5LNTAHT/20240619/eu-west-1/s3/aws4_request"
          },
          {
            "name": "X-Amz-Algorithm",
            "value": "AWS4-HMAC-SHA256"
          },
          {
            "name": "X-Amz-Date",
            "value": "20240619T121408Z"
          },
          {
            "name": "Policy",
            "value": "eyJleHBpcmF0aW9uIjoiMjAyNC0wNi0xOVQxMjozNDowOFoiLCJjb25kaXRpb25zIjpbeyJhY2wiOiJwcml2YXRlIn0seyJidWNrZXQiOiJjZW50cmEtd2ViaW5hci1zaWxrLXN0YWdpbmcifSxbImVxIiwiJGtleSIsIm1lZGlhXC9jbGllbnRcL2R5bmFtaWNcL3RlbXBcLzQ1NzNjMzJjMjdlMDVmY2U1NDFlZDJkNGI3NWE1OTA0Il0sWyJzdGFydHMtd2l0aCIsIiRDb250ZW50LVR5cGUiLCIiXSx7IlgtQW16LURhdGUiOiIyMDI0MDYxOVQxMjE0MDhaIn0seyJYLUFtei1DcmVkZW50aWFsIjoiQUtJQVJBNlBMR1ZZUDVMTlRBSFRcLzIwMjQwNjE5XC9ldS13ZXN0LTFcL3MzXC9hd3M0X3JlcXVlc3QifSx7IlgtQW16LUFsZ29yaXRobSI6IkFXUzQtSE1BQy1TSEEyNTYifV19"
          },
          {
            "name": "X-Amz-Signature",
            "value": "68df754455158a673f6fbe400f0407b7f53c58c5b37446a3c9d07f75ff327a08"
          }
        ]
      },
      "userErrors": [],
      "userWarnings": []
    }
  },
  "extensions": {
    "complexity": 242,
    "permissionsUsed": ["ProductMedia:write"],
    "appVersion": "v1.23.0"
  }
}
Now you must upload your image file to that UUID. Use our example of a simple website linked under the "Notes" above.
When you submit your createMediaUpload response, you can then choose the file to be uploaded. Select the file, click "Upload". This will upload your file directly to the right S3 bucket.
Once done, you can then assign your UUID as the image parameter on the new custom attribute:
mutation createAttribute {
  createAttribute(
    input: {
      attributeTypeName: "pr_extra_info"
      name: "Product Extra Info test1"
      imageElements: [
        { key: "image", uploadUUID: "4573c32c27e05fce541ed2d4b75a5904" }
      ]
    }
  ) {
    attribute {
      ...attributeData
    }
    userErrors {
      message
      path
    }
    userWarnings {
      message
      path
    }
  }
}
Response:
{
  "data": {
    "createAttribute": {
      "attribute": {
        "id": 30,
        "name": "Product Extra Info test1",
        "type": {
          "name": "pr_extra_info"
        },
        "elements": [
          {
            "key": "image",
            "description": "Product Extra Image",
            "kind": "IMAGE",
            "url": "http://centra-webinar.centraqa.com/client/dynamic/attributes/4573c32c27e05fce541ed2d4b75a5904.jpg",
            "height": null,
            "width": null,
            "mimeType": "image/jpg"
          }
        ]
      },
      "userErrors": [],
      "userWarnings": []
    }
  },
  "extensions": {
    "complexity": 263,
    "permissionsUsed": ["Attribute:write", "Attribute:read"],
    "appVersion": "v1.23.0"
  }
}
As you can see in AMS backend, attribute now exists with the uploaded image:
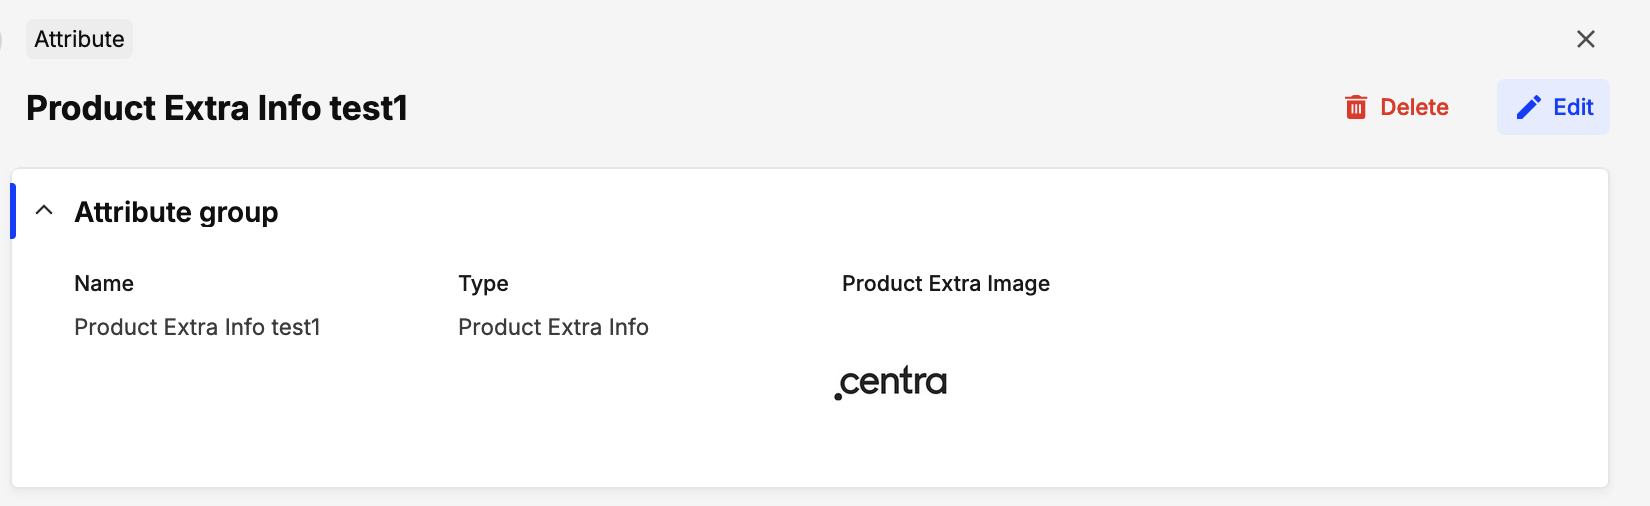
You can now assign this attribute (id: 30) to your products.
One more thing: You can also first create the attributes, and later upload the images to them. To create an empty attribute without an image, simply pass null in the UUID attribute:
mutation createAttribute {
  createAttribute(
    input: {
      attributeTypeName: "pr_extra_info"
      name: "Product Extra Info test2"
      imageElements: [{ key: "image", uploadUUID: null }]
    }
  ) {
    attribute {
      ...attributeData
    }
    userErrors {
      message
      path
    }
    userWarnings {
      message
      path
    }
  }
}